Ledonardo: A photography experiment
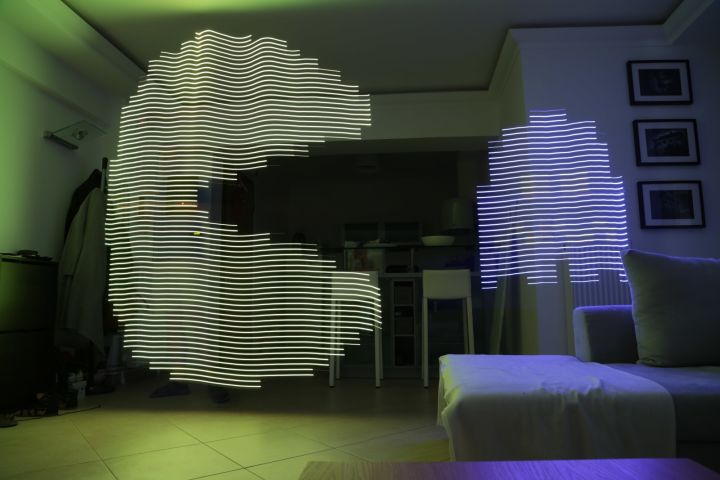
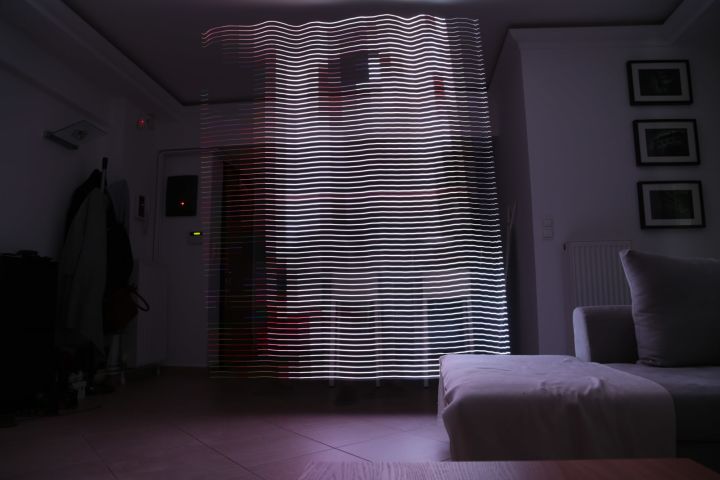
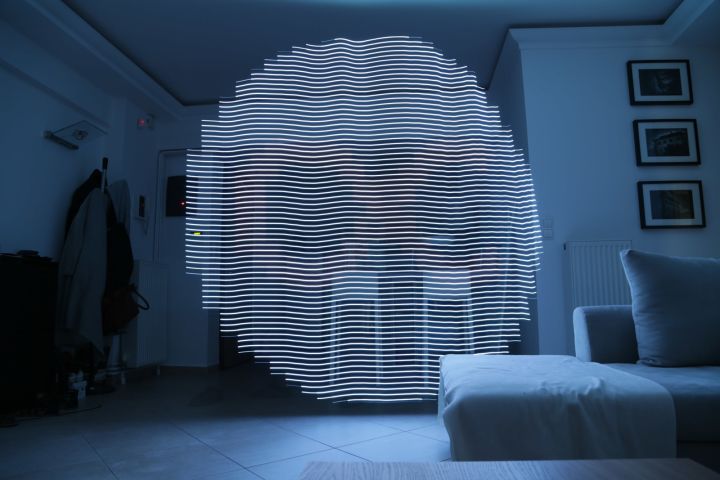
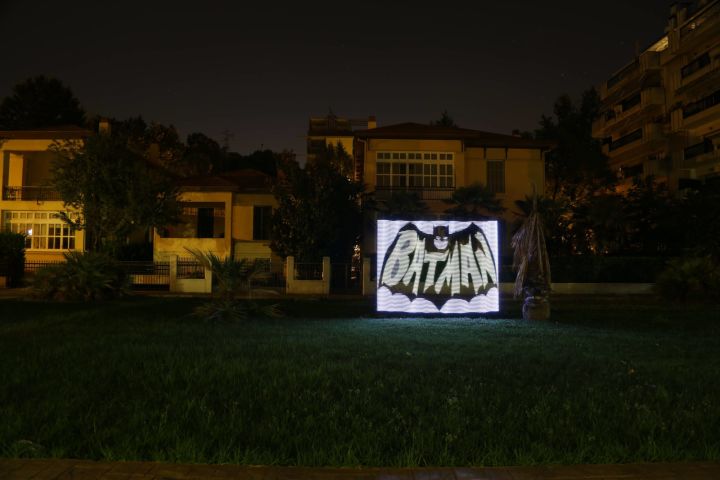
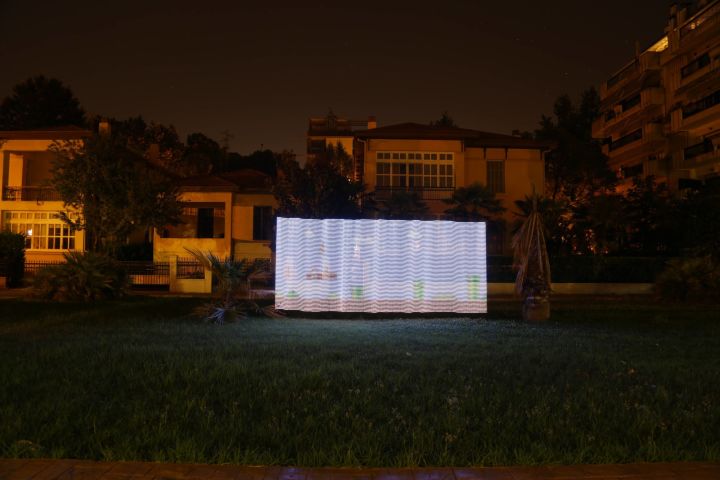
First iteration: Network, sparse strip, big pixels.
First of all, please excuse the draft quality of the images in this post. They are all quick tests I did in my flat while making this.
The ESP8266 doesn't have enough RAM to load a whole image in memory, not by a long shot. Because its filesystem is a pain to work with, I decided to split the program in two parts and run it over the network. The ESP8266 would start up a WiFi access point and it would run a UDP server. The server would receive a packet with a specific column, and simply display it on the LEDs.
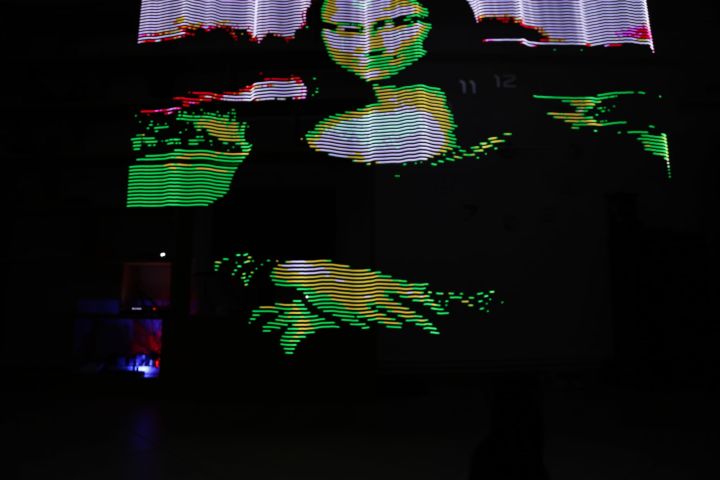
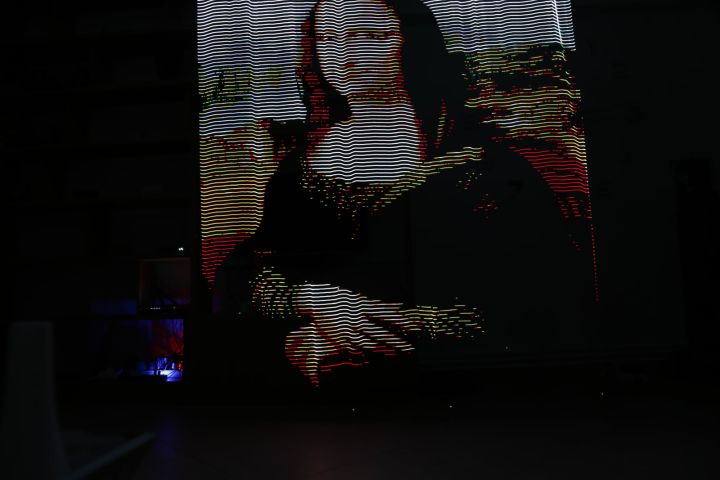
The client would run on a separate computer and handle the more complicated parts, like resizing the image, timing it according to the speed you walked at, etc. The first iteration would basically resize images proportionately so that the height was the number of pixels on a strip, so a 1000x1000 pixel square image just became 60x60. This meant that resolution was pretty limited, as you can see in the images above.
Second iteration: Better horizontal resolution, dense strip.
My new strip arrived, with twice the number of LEDs per meter! This meant a higher vertical resolution, which means sharper images!
At that point, I realized that, while I was limited in the vertical resolution, there was no reason I should rescale the image in the horizontal as well. For example, I didn't have to turn a 1000x1000 pixel image to 150x150, I could just keep it as 1000x150 and make the columns change faster.
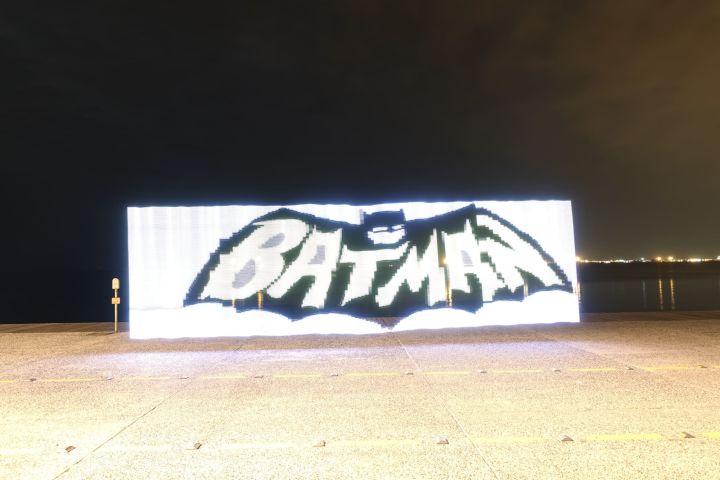
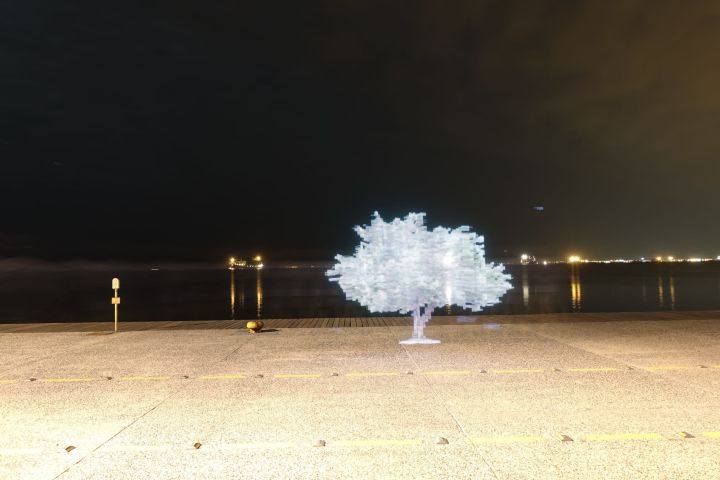
Unfortunately, there is an upper bound to how fast you can make the pixels change, and when you're going over a network, that limit is only 5ish times a second, which means that the horizontal resolution is still not very smooth.
Third iteration: More tests, still network-bound.
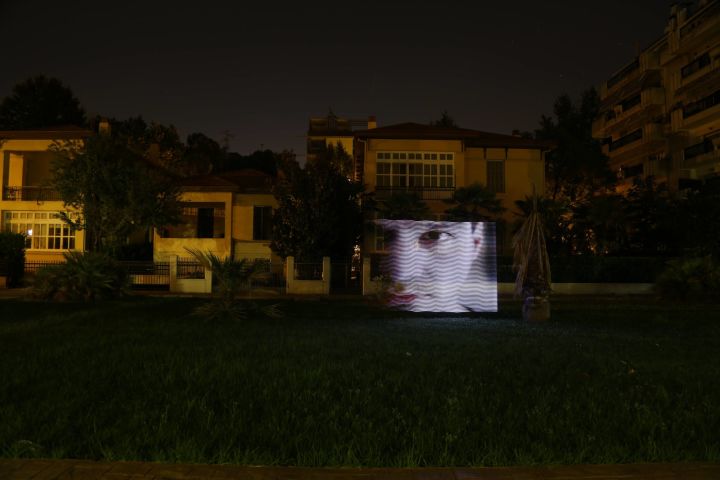
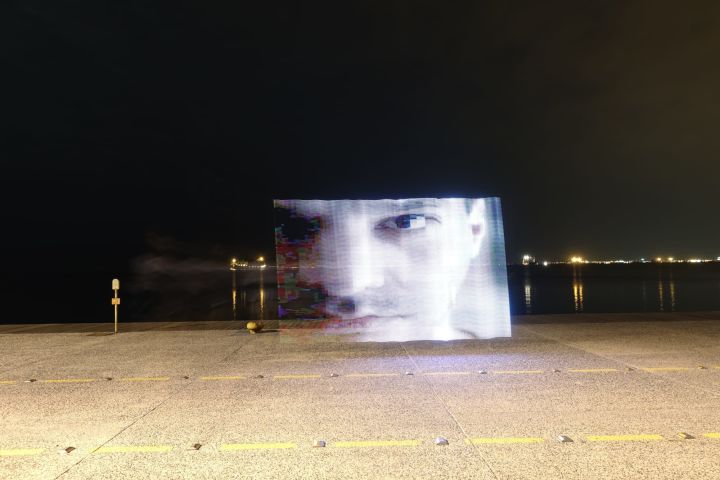
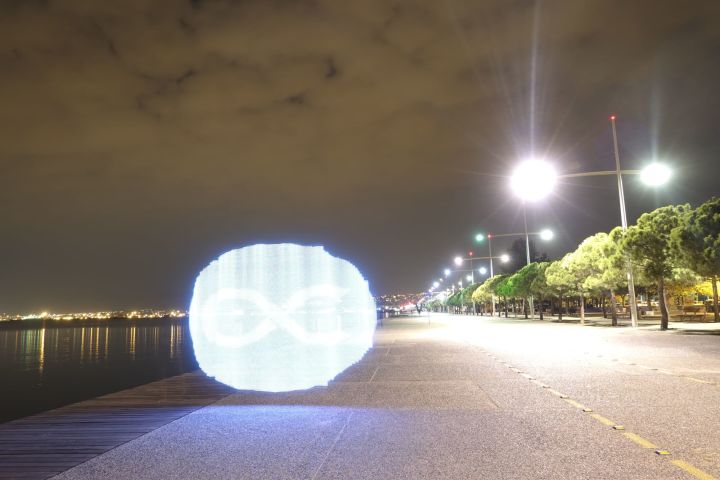
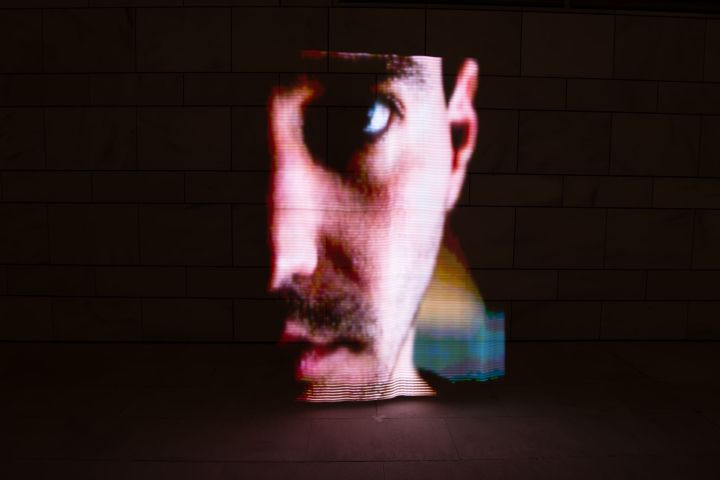
Another problem with going over the network is that sometimes you get dropped packets, and, if you look closely at the images, you can see that sometimes a column will not have arrived, and its neighbour was just repeated twice, which leads to jagged edges in the more graphical images. You can see this in the images above, where the letters in the Batman logo appear jagged, the eye in my portrait is more white than it should, and the Stochastic logo isn't perfectly circular.
Fourth iteration: Python rewrite, SD card, color problem.
Due to the network issues detailed above, I decided to rewrite the whole thing using an SD card. I wanted to write a converter to take any image type (JPEG, PNG, etc) and convert it to a bitmap that could be easily and quickly read and displayed. I decided to write the program in (micro)Python this time, because I have really started to hate C.
It took a day to rewrite everything in Python (luckily, much of the code of the image-sending program was already in Python), but, to my dismay, reading the pixels and writing them one by one to the LEDs was taking so long that I could only display 8 columns per second. I spent quite some time trying to optimize this, but there's only so much optimization you can do to a two-line for loop.
Jumping into the micropython source for the LED library implementation, I realized I didn't even have to keep the for loop, I could just directly assign the data I read from the SD card to the internal buffer of the LED library instance and display it. This sped my code up tenfold, and now I can cram much more detail in a centimeter of display!
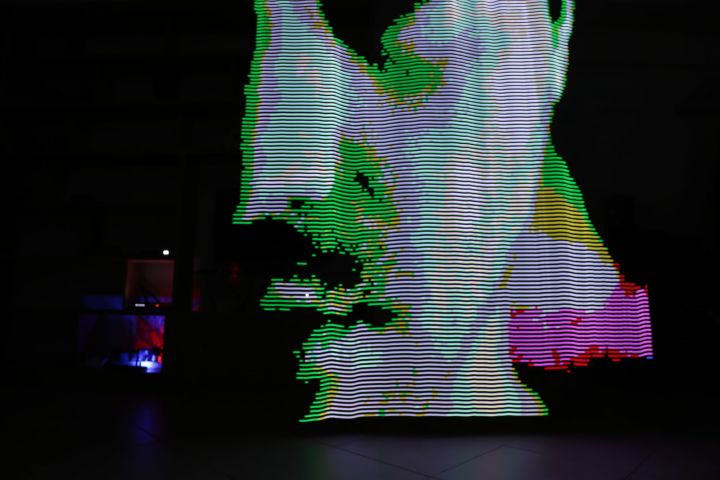
However, I had a different problem! The colors were off, as you can see in the above images.
Fifth iteration: Color problem fixed!
Apparently, someone decided to make the WS2818 LED addressing order "green, red, blue" instead of "red, green, blue" that is the standard. That took a bit of debugging, but I found the problem and quickly fixed it. Now all the colors show up as they should!
I still didn't like the lines, so I needed some sort of diffuser. However, I was very happy with the color reproduction, and figured out that the LEDs are simply much, much too bright for the camera's sensitive sensor, so they have to be turned down to 1% of their total brightness in order to make a nice-looking image.
Last step: Success!
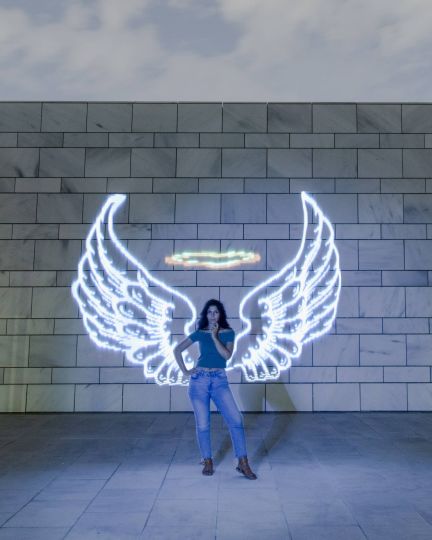
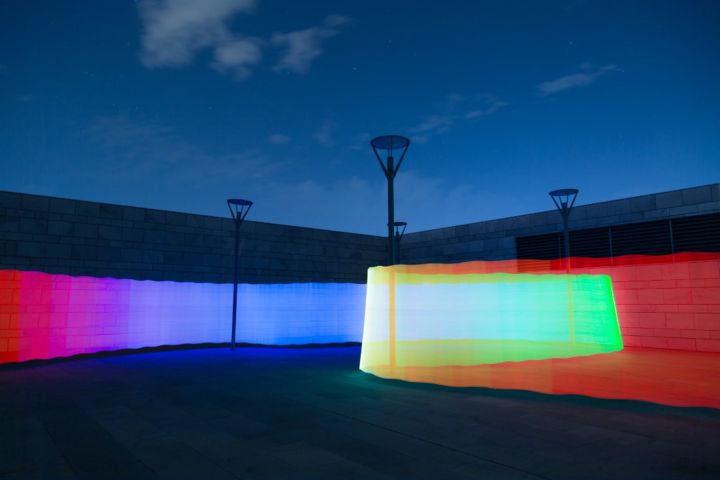
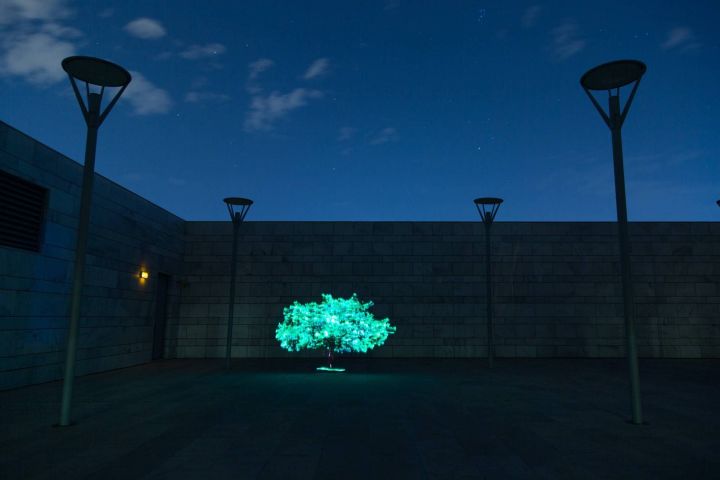
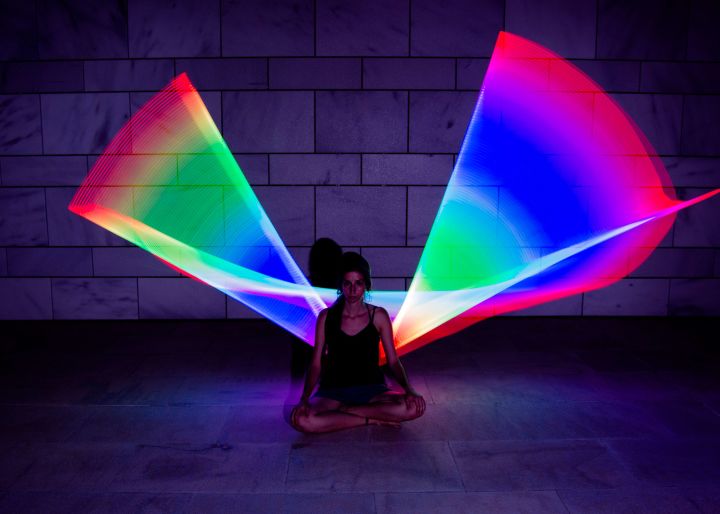
After years of on-and-off development and a lot of testing, I can finally call this project done! I took some test shots and they turned out really well, as you can see. Unfortunately, I took them in front of a wall, so they look like I was projecting them there, so next time I'll know that it's more impressive if there's nothing behind the stick.
Another thing I learned from this is that, despite all the effort I went into to be able to project photos, by far the more interesting thing is solid colors and patterns. That's a bit of a waste of effort, but oh well, I had lots of fun building this!
